Zenyatta is one of my favorite heroes in Overwatch and its sad to see that, so far, no figure of him has been released yet. Upon realizing that his body closely resembles that of the IBO Gundam Frames, I just had to immortalize my main by building him out of those IBO kits.
 |
| Zenyatta concept art (image taken from Google Image Search) |
The first step was to actually acquire IBO kits. Up to date, I have not bought a single IBO kit yet due to budget and buying a kit just to cannibalize parts of it didn't seem like a good idea. Instead I took to gunpla buy and sell groups and looked for second hand kits that were sold at a cheaper price. I got an HG Barbatos, HG Graze, and an RG Gundam Mk.II.
I used the upper body of the Barbatos and modded it to fit the lower body of the Graze.

I found that the Graze's legs were the perfect choice to pull off Zenyatta's sitting pose. Just look at that bend!
More modding on the ankles and I was able to attach the Gundam Mk.II's feet.

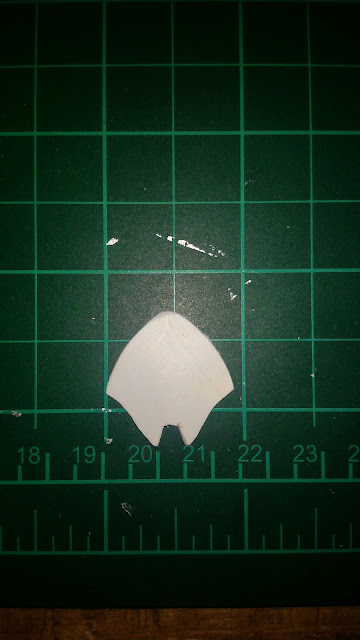
Some parts, like this chest piece, weren't available so I had to make them from scratch out of acrylic plates. It was my first time using them.

To make Zen's faceplate, I cut out a pattern from the acrylic place and molded it into shape by heating it up with a flame. I nearly burned my fingers off doing this method! Afterwards I sanded it down to a smooth finish. This was my first attempt at making the faceplate and it didn't match the shape of Zenyatta's head. So I made 3 more but they were not as good as the first so I decided to stick with the first result (and plus after 3 more attempts, my fingers couldn't take the fire anymore). Afterwards I drew in guidelines for Zenyatta's head details.


I got a little hasty at this point and drilled in the holes for the head. My alignment was waaaaaaaay off so I decided to seal the holes back in using sticky tac and super glue.


Next I got some rosary beads (unblessed) for the orbs. I also got some string for the tassel which I tested for fitting. I decided to use the RG Exia's extra hands which took a bit of modding to get them to fit right.


Painting time! Applied primer grey on everything and painted the other armor pieces.


At first I thought the primer grey would be good enough to act as the color of the body. But it ended up being too dark so I head out to the store and bought some silver paint. I decided to mask some of the pieces to retain the darker primer grey color. I'm a sucker for subtle color separation :D


While that's drying up, I worked on the extra arms. I cut and trimmed off pieces from the sprue trees to act as the arms. I had some extra hands from my past kits and with the magic of super glue and sticky tac, I made the extra arms.


Looking good so far :D


Adding the finishing touches of his tassel and head details. I managed to finish the head details but then while I was testing it for fitting, it dropped and fell into my paint pool :(( I had to paint strip the entire head and start all over. To save on time, I asked my friend for help on the head details as he was more experienced in painting small details. What you see here on the head is his work.


And its done!!! The whole process took 7 months and I admit it is not 100% true to Zenyatta's model art. It is instead my own "artistic interpretation" of Zenyatta; it is the result of my newbie experience in custom and scratch building as well as painting. And now I wanna make more...
But now, finally, Zenyatta is here!


Reinhardt and D.Va, you're next. Pharah.... maybe XD

No comments:
Post a Comment